
Reviving History: Expert Wood Refinishing Techniques
- brennaclancy
- Sep 26, 2025
- 4 min read
Wood furniture has a charm that can transform any space. Over time, however, even the most beautiful pieces can lose their luster. Scratches, stains, and fading can make them look worn out. Fortunately, wood refinishing can breathe new life into these treasures. In this post, we will explore expert techniques for wood refinishing that can help you restore your furniture to its former glory.
Refinishing wood is not just about aesthetics. It is also about preserving history. Each piece of furniture tells a story, and refinishing allows you to keep that story alive. Whether you are a DIY enthusiast or a professional, understanding the right techniques can make all the difference.
Understanding the Basics of Wood Refinishing
Before diving into the techniques, it is essential to understand what wood refinishing entails. Refinishing is the process of removing the old finish from wood and applying a new one. This can involve sanding, staining, and sealing the wood to protect it from future damage.
Why Refinish Wood?
Refinishing wood has several benefits:
Restoration: It brings back the original beauty of the wood.
Protection: A new finish protects the wood from moisture and wear.
Customization: You can change the color or sheen to match your decor.
Tools You Will Need
To get started, gather the following tools:
Sandpaper (various grits)
Paintbrushes
Wood stain
Wood finish (polyurethane, varnish, or oil)
Rags
Safety goggles and mask
Having the right tools will make the process smoother and more enjoyable.
Step-by-Step Refinishing Process
Now that you have the basics down, let’s go through the refinishing process step by step.
Step 1: Prepare Your Workspace
Choose a well-ventilated area to work. Lay down a drop cloth to protect the floor. Make sure you have good lighting to see the details of the wood.
Step 2: Remove the Old Finish
Start by removing the old finish. You can do this by sanding the surface. Use coarse sandpaper (around 80 grit) to remove the bulk of the finish. Then, switch to finer sandpaper (220 grit) for a smooth finish.
Tip: Always sand in the direction of the wood grain to avoid scratches.
Step 3: Clean the Surface
After sanding, clean the surface thoroughly. Use a damp cloth to remove dust and debris. Allow the wood to dry completely before moving on to the next step.
Step 4: Apply Stain (Optional)
If you want to change the color of the wood, now is the time to apply stain. Use a clean rag or brush to apply the stain evenly. Wipe off any excess stain after a few minutes to achieve your desired color.
Tip: Test the stain on a small, inconspicuous area first to see how it looks.
Step 5: Seal the Wood
Once the stain is dry, it is time to apply a finish. Choose a finish that suits your needs. Polyurethane is durable and water-resistant, while oil finishes enhance the natural beauty of the wood.
Apply the finish with a clean brush, following the wood grain.
Allow it to dry completely before applying a second coat.
Step 6: Final Touches
After the final coat has dried, inspect the piece for any imperfections. Lightly sand any rough spots and apply a final coat if necessary.
Common Mistakes to Avoid
Refinishing wood can be tricky. Here are some common mistakes to avoid:
Skipping the sanding: This step is crucial for a smooth finish.
Using the wrong finish: Make sure to choose a finish that matches your needs.
Not allowing enough drying time: Patience is key in refinishing.
By avoiding these mistakes, you can achieve a professional-looking result.
Special Techniques for Different Wood Types
Different types of wood may require specific techniques. Here are some tips for popular wood types:
Oak
Oak is a durable wood that can handle heavy sanding. Use a medium grit sandpaper to remove the old finish. Oak also takes stain well, allowing for a rich, deep color.
Pine
Pine is softer and can be easily damaged. Use a light touch when sanding. If you want to keep the natural look, consider using a clear finish instead of stain.
Mahogany
Mahogany has a beautiful grain that can be enhanced with stain. Use fine sandpaper to avoid damaging the surface. A high-gloss finish can bring out the richness of the wood.
Maintaining Your Newly Finished Wood
Once you have refinished your wood, it is essential to maintain it properly. Here are some tips:
Clean regularly: Use a soft cloth to dust the surface.
Avoid harsh chemicals: Use gentle cleaners to protect the finish.
Reapply finish as needed: Depending on wear, you may need to reapply the finish every few years.
By taking care of your refinished wood, you can ensure it lasts for many years to come.
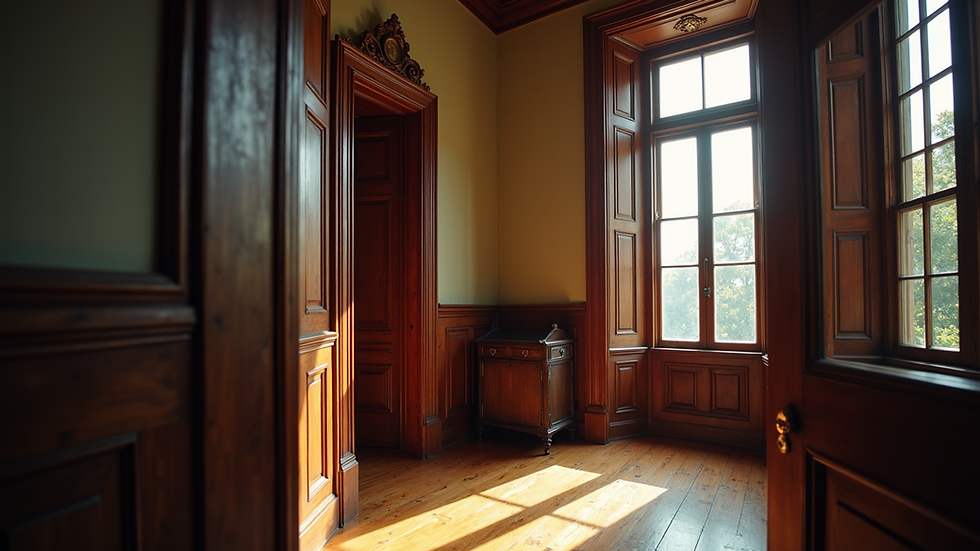
The Joy of Reviving History
Refinishing wood is more than just a task; it is a way to connect with history. Each piece of furniture has a story, and by restoring it, you are preserving that story for future generations.
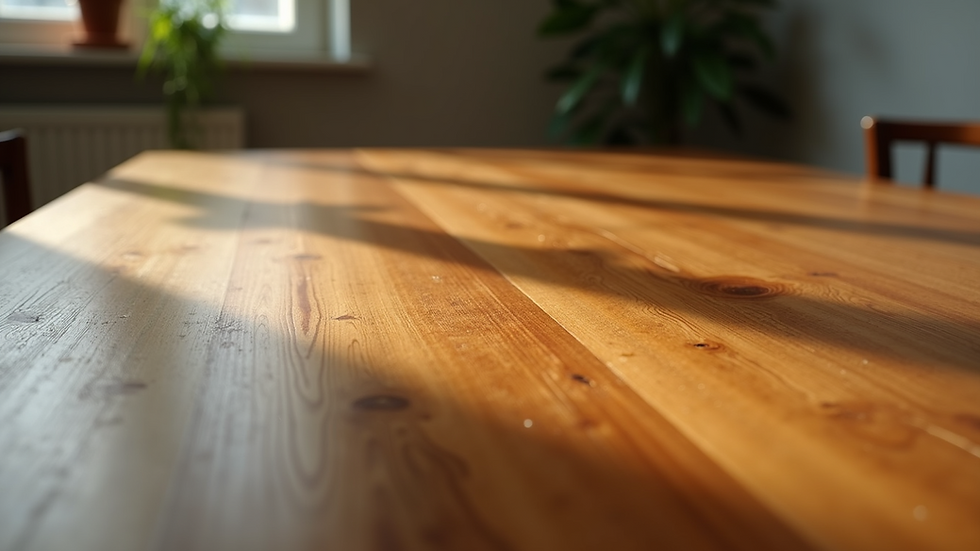
Imagine the joy of sitting at a beautifully refinished table, knowing that it has been brought back to life. The warmth of the wood, the shine of the finish, and the history it carries can create a special atmosphere in your home.
Personal Stories of Restoration
Many people have their own stories of restoring furniture. For example, a family heirloom passed down through generations can hold immense sentimental value. Refinishing it not only enhances its beauty but also keeps the memories alive.
Another story might involve finding a piece at a thrift store. With some effort and care, that piece can become a stunning focal point in your home.
Final Thoughts on Wood Refinishing
Refinishing wood is a rewarding experience. It allows you to take something old and make it new again. With the right techniques and a little patience, you can transform worn-out furniture into beautiful pieces that tell a story.
Whether you are a beginner or an expert, the joy of reviving history through wood refinishing is something everyone can appreciate. So gather your tools, choose a piece, and start your journey of restoration today.
By following these expert techniques, you can ensure that your wood furniture remains a cherished part of your home for years to come. Happy refinishing!

Comments